Table of Contents
- 1 What Makes This Palak Khichdi Different?
- 2 Ingredients for Palak Khichdi
- 3 For the Khichdi
- 4 For the Masala
- 5 Make Palak Khichdi | Step-by-Step Recipe
- 6 Step 1: Wash the Rice and Urad Dal
- 7 Step 2: Prepare the Palak
- 8 Step 3: Cook the Rice and Urad Dal
- 9 Step 4: Prepare the Masala
- 10 Step 5: Sauté the Palak with the Masala
- 11 Step 6: Mix the Khichdi with the Masala
- 12 Step 7: Add Desi Ghee at the End
- 13 Palak Khichdi is Ready
- 14 Nutrition Information
- 15 Mistakes to Avoid
- 16 Frequently Asked Questions
- 17 Q/A
I always try to bring you recipes that are easy to make at home, don’t cost much, and are truly enjoyable to eat.
Keeping that in mind, today I’m going to show you how to make Palak Khichdi. When I made it for the first time, I didn’t think it would turn out this delicious. But after I tasted it, it was so good that I immediately decided I would share this method with you. So that you can also make something healthy and tasty at home whenever you have some free time.
What Makes This Palak Khichdi Different?
The first thing that makes this recipe different from others is that Palak puree is not used to make this khichdi. Instead, the Palak is finely chopped and sautéed with the spices.
The second special thing about this recipe is that split black gram (urad dal with skin) is used.
And the third thing is that not too many spices are added. This amazing khichdi is prepared using just a few basic spices.
Palak Khichdi is rich in iron, fiber, Vitamin A, Vitamin C, and many essential minerals. If your child doesn’t like eating Palak, then this recipe is one of the best options for you. While making the khichdi, the Palak blends in so well that children can easily eat it without any fuss.
Ingredients for Palak Khichdi
To make this recipe, we’ll be using ingredients that are available in almost every Indian kitchen today. So, you won’t have any difficulty finding anything for this recipe.
For the Khichdi
Serves 2- ½ cup Rice
- ½ cup Urad Dal
- 200 grams Fresh Palak
- ½ tsp Turmeric Powder
- To taste Salt
For the Masala
Serves 2- 2 medium Onion
- 2 medium Tomato
- 1 Green Chili
- 10 Garlic
- 1 inch Ginger
- 1 tsp Cumin Seeds
- ½ tsp Asafoetida (Hing)
- 1 tsp Red Chili Powder
- ½ tsp Turmeric Powder
- 2 tbsp Oil
- 1 tbsp Desi Ghee
Make Palak Khichdi | Step-by-Step Recipe
Now that all the ingredients are ready, it’s time to start cooking. If you follow each step carefully, trust me, your khichdi will turn out just like mine.
Step 1: Wash the Rice and Urad Dal
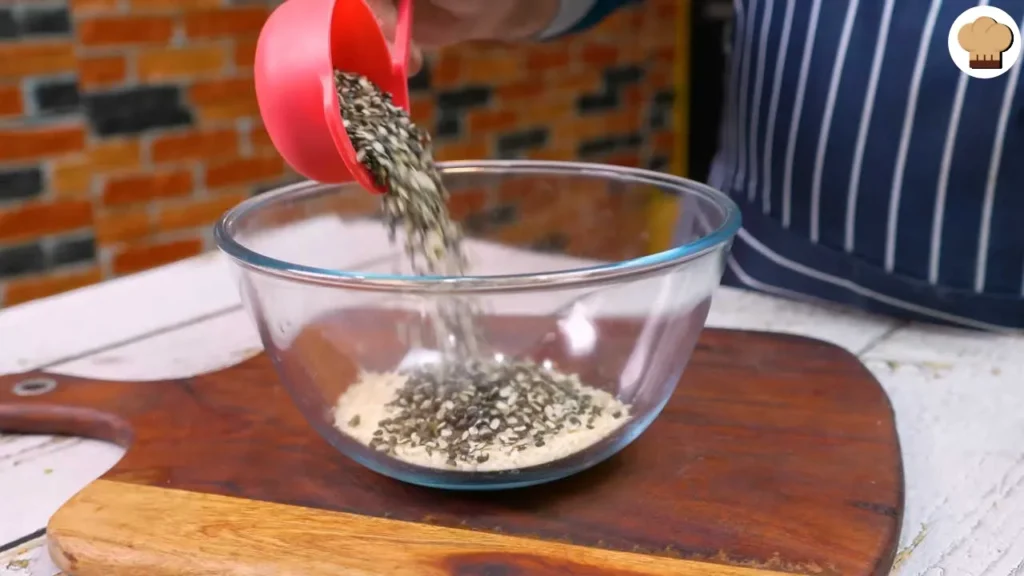
First, take ½ cup of rice and ½ cup of split black gram (urad dal with skin). Put them into a large bowl and wash them thoroughly 2 to 3 times with clean water.
Note: Many people rush through this step, but this small mistake can later spoil the taste and texture of the khichdi.
After washing, soak the rice and dal in water for 30 minutes.
Soaking helps the rice and dal cook faster. It also gives both of them a much better texture.
My Little Advice
- If you’re not in a hurry, you can soak them for 40–45 minutes as well.
- Use rice and dal in equal quantities. This improves both the taste and the nutrition.
Step 2: Prepare the Palak
Take 150–200 grams of fresh Palak and wash it thoroughly. Here’s one mistake that almost everyone makes—they chop the Palak first and then wash it.
Don’t do that. Washing Palak after chopping causes many of its important nutrients to go to waste. So, wash it 2 to 3 times before chopping.
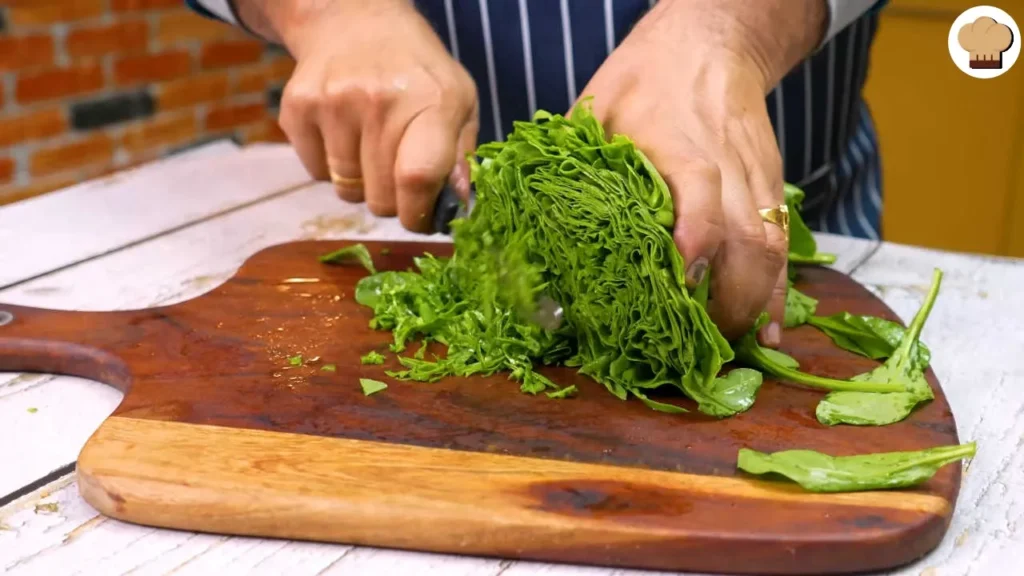
If the Palak has too much dirt on it, leave it in water for 5 minutes, then wash it. This will help remove the dirt easily.
Once the Palak is clean, place it on a chopping board and chop it finely.
Make sure the Palak isn’t chopped into large pieces. Finely chopped Palak works much better for khichdi.
Pro Tip: Remove the thick stems from the Palak. Use only the soft leaves and thin stems.
Step 3: Cook the Rice and Urad Dal
Now drain the water from the soaked rice and urad dal. Transfer both of them to a pressure cooker.
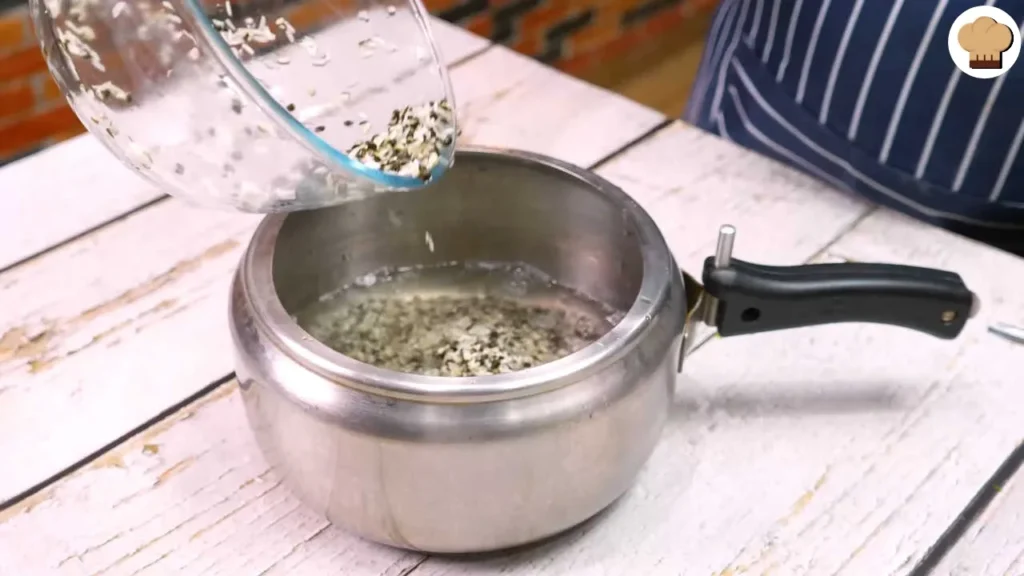
Add water until the rice and dal are submerged by about 1 inch.
Add salt to taste and ½ teaspoon of turmeric powder.
Cook it over medium heat until 1 to 2 whistles.
Many people think that more whistles will make the khichdi taste better. But that’s not true. In fact, doing so will completely mash the rice and dal.
Once you hear 1 to 2 whistles, let the pressure release naturally.
If you notice that the rice and dal are perfectly cooked but haven’t broken apart, then you can be sure you’ve completed the most difficult part of this recipe.
One Important Thing
If you prefer your khichdi to be a little thinner, you can easily adjust the consistency by adding water along with the masala in the final step.
Step 4: Prepare the Masala
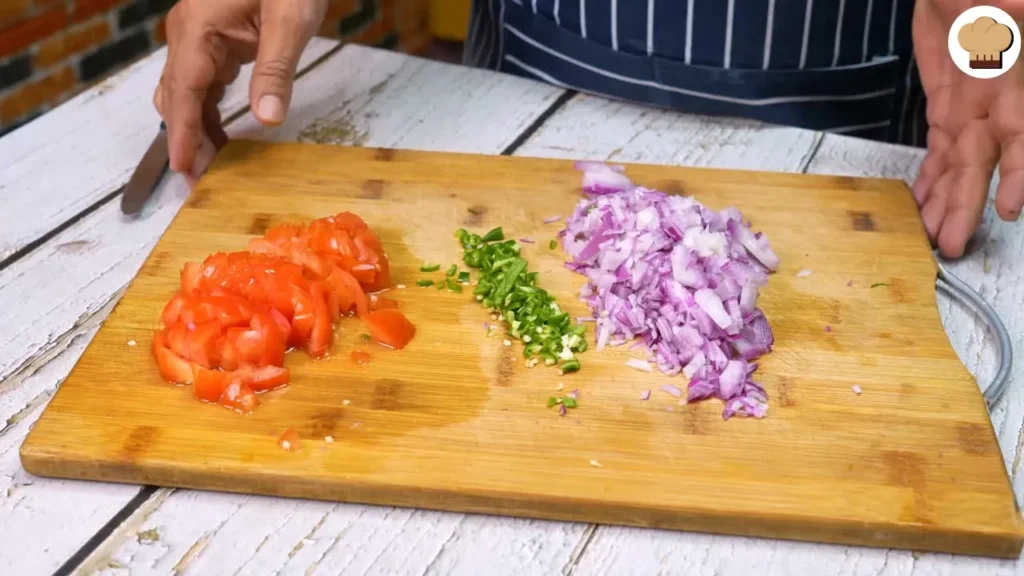
Finely chop 2 medium onions, 2 tomatoes, 1 green chili, 10–12 garlic cloves, and 1 inch of ginger.
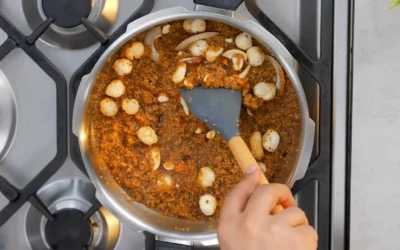
Now heat 2 tablespoons of oil in a pan. Once the oil is hot, add 1 teaspoon of cumin seeds. As soon as the cumin starts turning brown, add the chopped garlic.
Don’t overcook the garlic. We only need to sauté it until it turns lightly golden. Otherwise, it will develop a bitter taste.
Now add the chopped onions and cook them over medium to high heat while stirring continuously.
Cook them until the onions turn a deep golden brown.
Once the onions are nicely cooked, add the chopped ginger and green chili. Sauté them for 30 seconds while stirring.
Now add ½ teaspoon of asafoetida (hing).
Many people skip hing, but when making khichdi with urad dal, you shouldn’t leave it out. Along with enhancing the flavor, hing also helps support the digestive system.
Now add the chopped tomatoes and mix in salt according to your taste. Adding salt helps the tomatoes soften faster, which means your masala will be ready sooner.
Once the tomatoes become completely soft, add ½ teaspoon of turmeric powder and 1 teaspoon of red chili powder.
Now cook the masala over low heat for 3–4 minutes. If you start seeing a little oil around the edges of the pan, you’ll know the masala is cooked.
My Little Advice
Don’t add garam masala, coriander powder, or too many other spices to this recipe. The simpler it is, the healthier and tastier it will be.
Step 5: Sauté the Palak with the Masala
Add the finely chopped Palak to the prepared masala.
At first, it may seem like you’ve added too much Palak, but don’t worry. Once it cooks, its volume will reduce.
Now let the Palak cook over high heat.
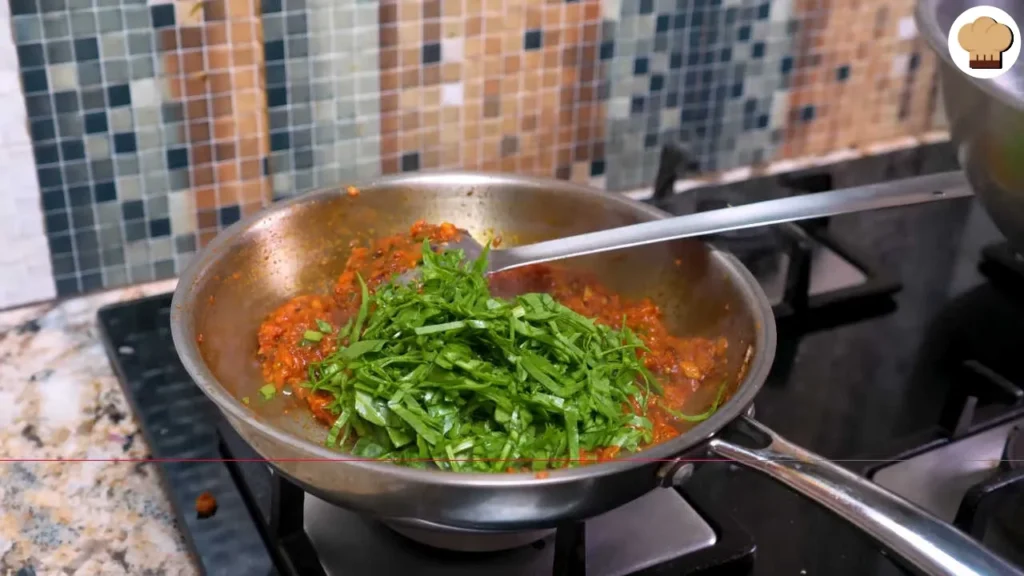
Gradually, the Palak will release its own water, and it will cook in that moisture. Do not add extra water.
After cooking for 4–5 minutes, gently press the Palak with a spatula so that the Palak and masala blend well together.
Step 6: Mix the Khichdi with the Masala
Now add the previously cooked rice and dal to the Palak masala, and gently mix everything with a spatula so that the rice doesn’t break.
If you feel that the khichdi has become a little too thick, you can add some hot water.
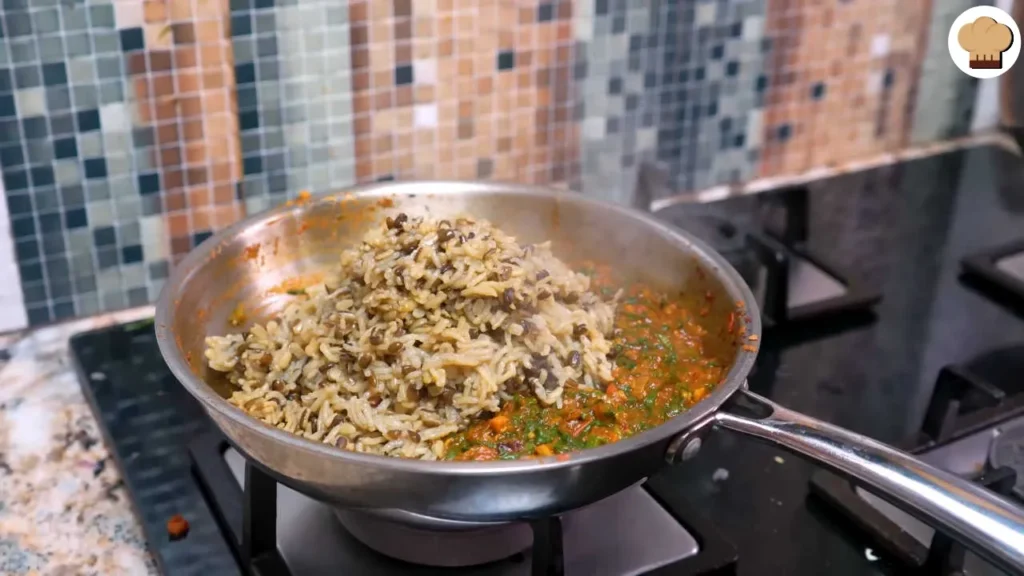
Now let the khichdi cook over low heat for 3–4 minutes. This will allow the Palak and the masala flavors to soak into the rice and dal.
Step 7: Add Desi Ghee at the End
By following this final step, your Palak Khichdi is almost ready. All that’s left is to give it the final touch.
Turn the heat to the lowest setting. Now add 1 tablespoon of desi ghee and gently mix it in.
Note: Don’t add the ghee at the beginning, because doing so reduces the aroma of the khichdi.
Palak Khichdi is Ready
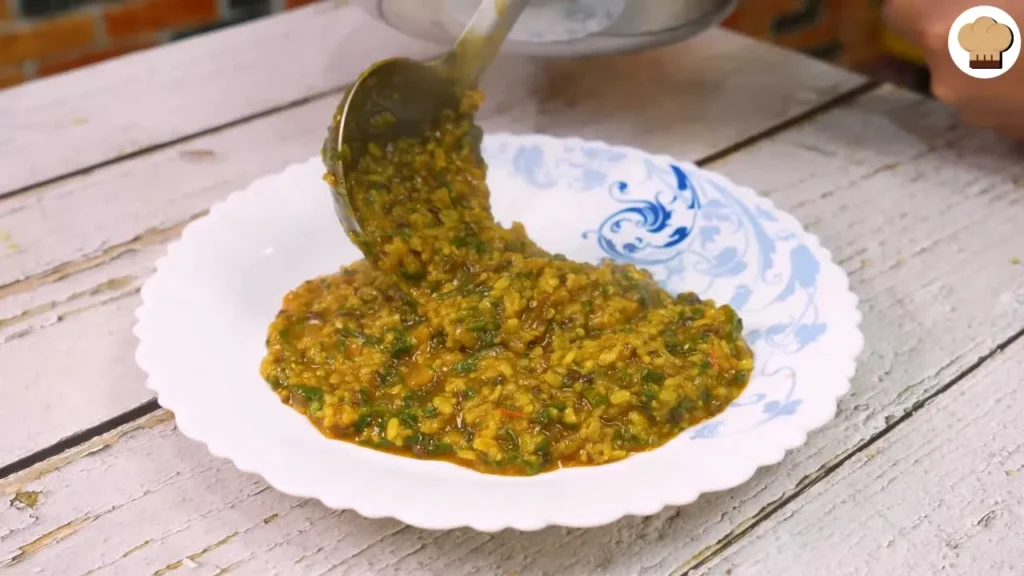
Your Palak Khichdi is now ready to serve. When you taste it, you’ll feel that it’s completely different from regular khichdi. It’s healthy as well as delicious. Its creamy texture, the mild flavor of Palak, the aroma of traditional Indian spices, and the desi ghee added at the end make every bite special.
If there’s someone in your family who doesn’t like eating Palak, do try this recipe once. They won’t get enough of this khichdi.
Nutrition Information
Palak Khichdi is a simple and delicious dish, but don’t judge it by its appearance. Even though it looks ordinary, this Palak Khichdi can easily outshine many expensive dishes. Now let’s take a look at the nutrition it provides.
Note: The nutrition information below is approximate. It may vary slightly depending on the ingredients used and their quantities.
| Nutrient | Per Serving (Approx.) |
| Calories | 380 kcal |
| Protein | 14 g |
| Carbohydrates | 48 g |
| Fat | 12 g |
| Fiber | 8 g |
| Iron | 4 mg |
| Calcium | 120 mg |
| Vitamin A | 250% DV |
| Vitamin C | 18 mg |
| Sodium | 420 mg |
Mistakes to Avoid
Whenever you’re trying a new recipe, there’s always a higher chance of making mistakes, and that can ruin the taste of the dish. I don’t want that to happen to you. So before making Palak Khichdi, make sure you read the points below once.
- Wash the Palak Before Chopping
Always wash the Palak before chopping it. Washing chopped Palak later causes its nutrients to wash away.
- 2. Cooking the Rice and Dal Without Soaking
Never do this. If you put the rice and dal directly into the pressure cooker, they won’t cook evenly. That’s why you should soak both of them in water for at least 30 minutes.
- 3. Giving Too Many Whistles to the Pressure Cooker
Many people think that more whistles will make the khichdi better, but that’s not true. Overcooking will completely mash the rice and dal.
- 4. Not Cooking the Masala Properly
If the tomatoes and spices aren’t cooked properly, the khichdi will have a raw taste. So cook the masala until you start seeing a little oil around the edges of the pan.
- 5. Making Palak Puree
Don’t use Palak puree in this recipe. Only add finely chopped Palak.
- 6. Adding Cold Water
If the khichdi becomes too thick, add hot water. Adding cold water can spoil both the taste and the consistency.
- 7. Adding Ghee at the Beginning
Always add desi ghee at the end while making Palak Khichdi. This helps preserve both the aroma and the flavor of the ghee.
Frequently Asked Questions
Q/A
Yes, absolutely. You can make Palak Khichdi with moong dal as well.
No. For this recipe, it’s best to use finely chopped Palak. Adding Palak puree changes the texture of the khichdi.
Yes. You can also make it in a heavy-bottomed pot or saucepan. Just cover it and cook over low heat.
Yes. Palak is rich in iron and vitamins, making it a great option for young children.
Yes, if you use olive oil instead of ghee, or use any good alternative to ghee.
You can serve it with desi ghee, papad, mango pickle, boondi raita, curd, or onion salad.
It’s optional.