Table of Contents
- 1 What is Special About Aloo Methi Paratha?
- 2 Special About Methi Paratha
- 3 Ingredients | Aloo Methi Paratha
- 4 For Dough
- 5 For Stuffing
- 6 Choose the Right Fenugreek (Methi)
- 7 Right Way to Wash and Dry Methi
- 8 Why is Besan Important?
- 9 The Easiest Way to Knead the Dough
- 10 Instructions of (Methi Paratha)
- 11 Step 1: Prepare the Potatoes
- 12 Step 2: Add the Spices
- 13 Step 3: Knead the Dough Again
- 14 Step 4: Prepare the Dough Balls
- 15 Step 5: Roll the First Flatbread
- 16 How to Make a Square Paratha
- 17 Step 6: Fill the Stuffing
- 18 Step 7: Roll the Paratha
- 19 Why Roast Without Ghee First?
- 20 7 Golden Tips
- 21 Common Mistakes (Methi Paratha)
- 22 Serving Suggestions
- 23 How to Store Methi Paratha?
- 24 Store the Dough:
- 25 Store the Stuffing:
- 26 Expert Tips
- 27 Nutrition Per (Methi Paratha)
- 28 Frequently Asked Questions
- 29 Q/A
What is Special About Aloo Methi Paratha?
If you haven’t tried Aloo Methi Paratha, then you’re really missing out. It tastes absolutely delicious with pickle, which is why it is one of the most famous recipes in North India.
In this recipe, fresh fenugreek (methi) leaves are finely chopped first and then kneaded together with the flour.
Later, boiled potatoes are mashed, then grated ginger, finely chopped onions, green chilies, and fresh coriander leaves are added to them and mixed with Indian spices.
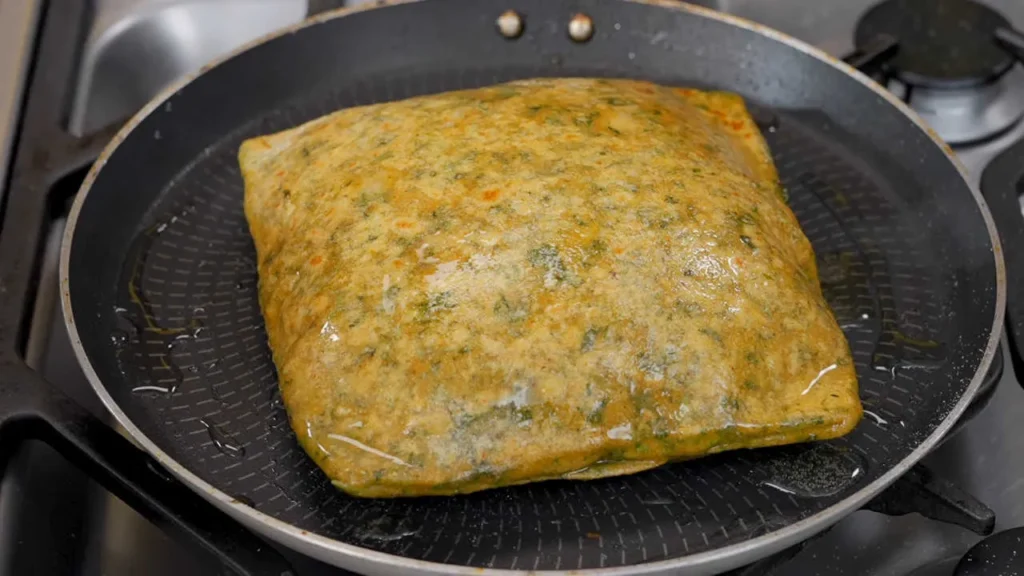
This stuffing is then filled inside the dough, rolled out, and roasted on a hot tawa.
Aloo Methi Paratha is a very easy recipe. If you don’t know how to make it, I’ll teach you the simplest way to prepare it.
Special About Methi Paratha
- Crispy on the outside and soft on the inside.
- No need to worry about it puffing up—it puffs perfectly every single time.
- The stuffing doesn’t come out.
- Beginners can make it easily.
- A perfect breakfast option.
- One of the best choices for lunch boxes.
Ingredients | Aloo Methi Paratha
For Dough
Serves 4- 3 cups whole wheat flour
- ½ cup gram flour (besan)
- 125 grams Fresh Methi (fenugreek)
- ½ tsp Turmeric powder
- ½ tsp Red chili powder
- ½ tsp cumin powder
- 1 tsp carom seeds (ajwain)
- Salt to taste
- 1 cup Water
- 1 tbsp Ghee
For Stuffing
Serves 4- 4 Medium-Sized Boiled Potatoes
- 1 finely chopped onion
- 2-3 finely chopped green chilies
- 1 tbsp Grated Ginger
- 2 tbsp Chopped Fresh Coriander
- 1 tsp Red Chili Powder
- 2 tbsp Coriander Powder
- ½ tsp Roasted Cumin Powder
- 1 tsp Dry Mango Powder (Amchur)
- ½ tsp Carom Seeds (Ajwain)
- Salt to taste
Choose the Right Fenugreek (Methi)
Many people buy methi without checking it properly and use it directly, but you should always choose methi with deep green leaves.
The leaves shouldn’t have any yellow spots, and the stems shouldn’t be thick. This shows that the methi is fresh and not old. If the methi is old, it will taste bitter.
Right Way to Wash and Dry Methi
Many people don’t pay much attention to washing and drying methi, but it has its own process. If the methi isn’t washed properly, the dirt stuck to the leaves can spoil your recipe.
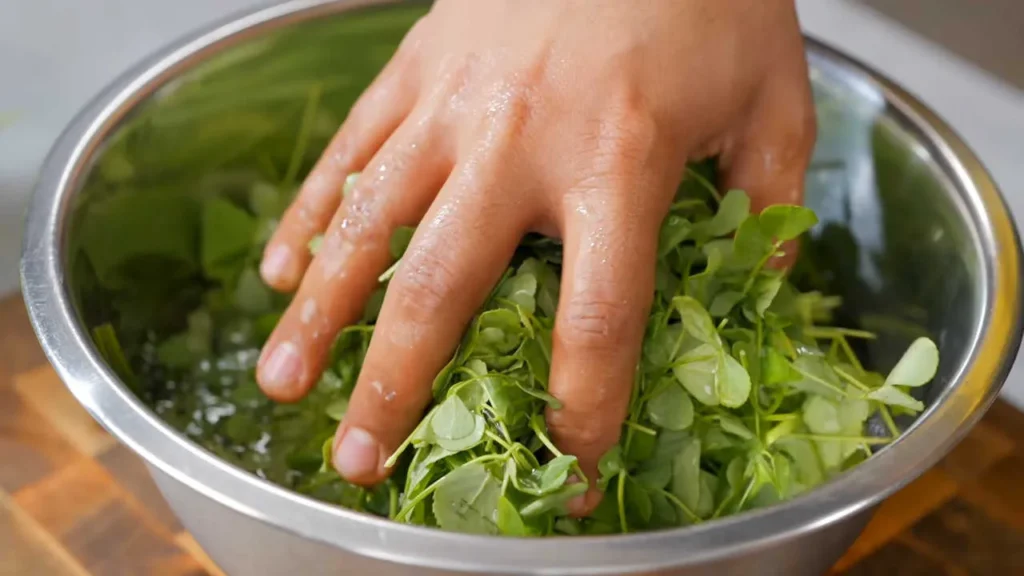
That’s why you should wash it three times with clean water. While washing, gently rub the leaves with your hands so all the dirt comes off.
After washing, don’t chop it immediately. Let it dry for about 15–20 minutes first.
If you use wet methi:
- The dough will become too wet.
- The methi will release water.
- Rolling the paratha will become difficult.
- The taste will remain slightly bitter.
Why is Besan Important?
Adding gram flour makes the parathas crispier. When the dough is made only with whole wheat flour, it can become soft and sticky.
That’s why we’ll mix a little gram flour with the wheat flour so the dough stays firm after kneading and doesn’t stick while rolling.
There are more benefits of adding gram flour as well:
- The parathas puff up more easily.
- They stay crispy for a longer time.
- They don’t tear while filling the stuffing.
The Easiest Way to Knead the Dough
Take a large mixing bowl and add the whole wheat flour. Don’t forget to add the gram flour because it helps the dough become firm. Now add turmeric powder, red chili powder, and cumin powder. Then add carom seeds and salt, and mix everything well.
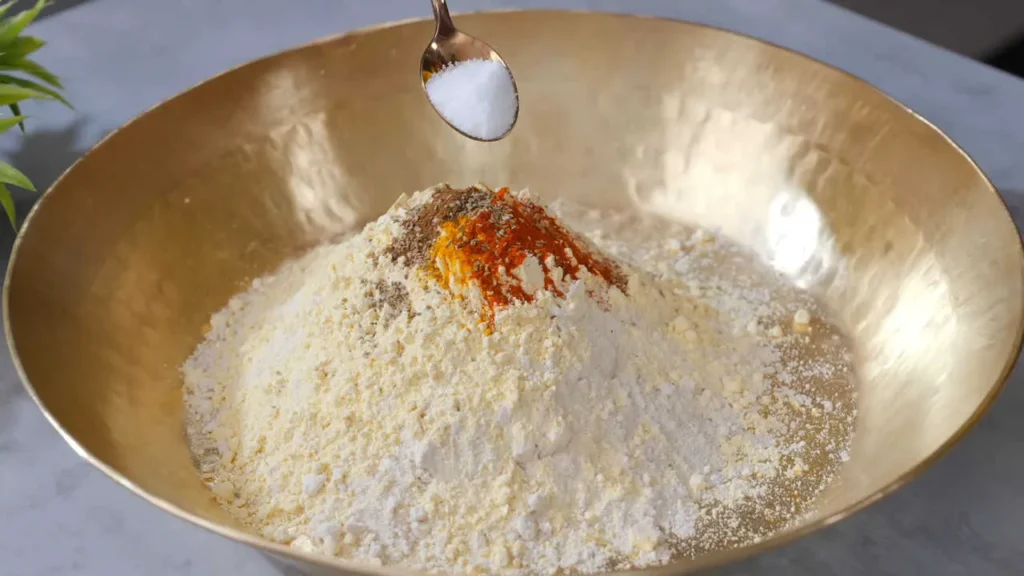
Now finely chop the methi leaves and add them to the flour. Mix everything again.
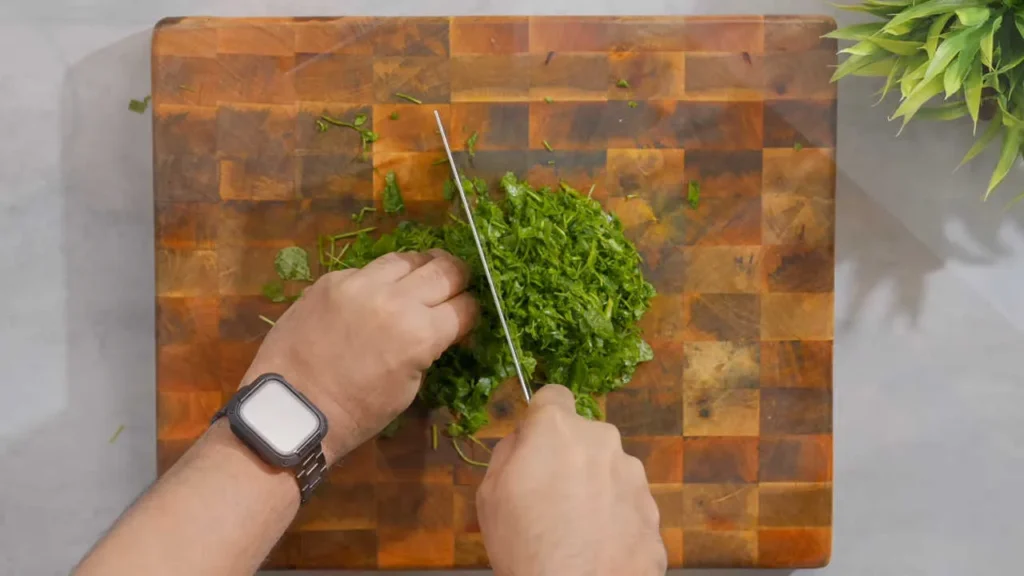
After that, gradually add water and knead the dough. Make sure you don’t pour all the water in at once.
Once the dough is ready, add one tablespoon of ghee and knead it for another 5 minutes.
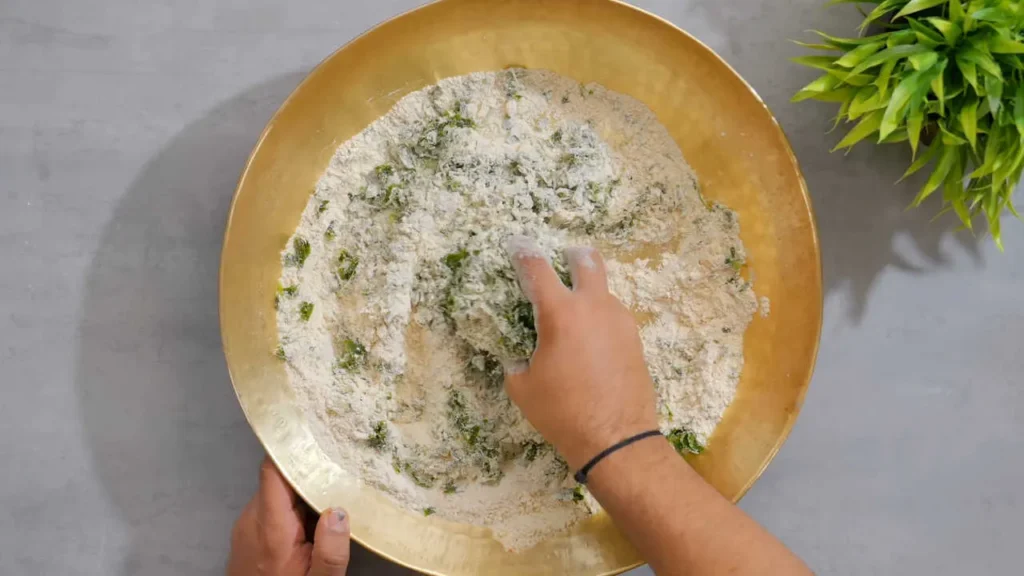
We’ve already kneaded the dough once. This extra kneading is just to make sure the ghee mixes properly into the dough.
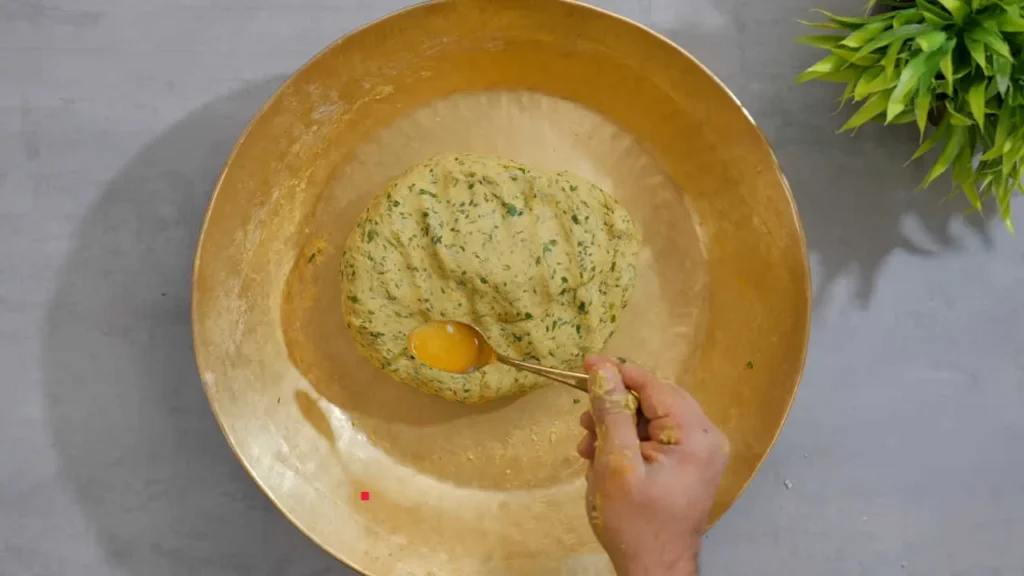
Once the dough is ready, cover it and let it rest for 30 minutes.
Instructions of (Methi Paratha)
We’ve completed most of the recipe. Now we’ll prepare the potato stuffing for the parathas and follow the remaining steps one by one.
If you follow the steps below, your parathas will turn out perfectly every time without tearing.
Step 1: Prepare the Potatoes
I had already boiled the potatoes and kept them aside to cool. Now mash them. Mash the potatoes slightly coarse.
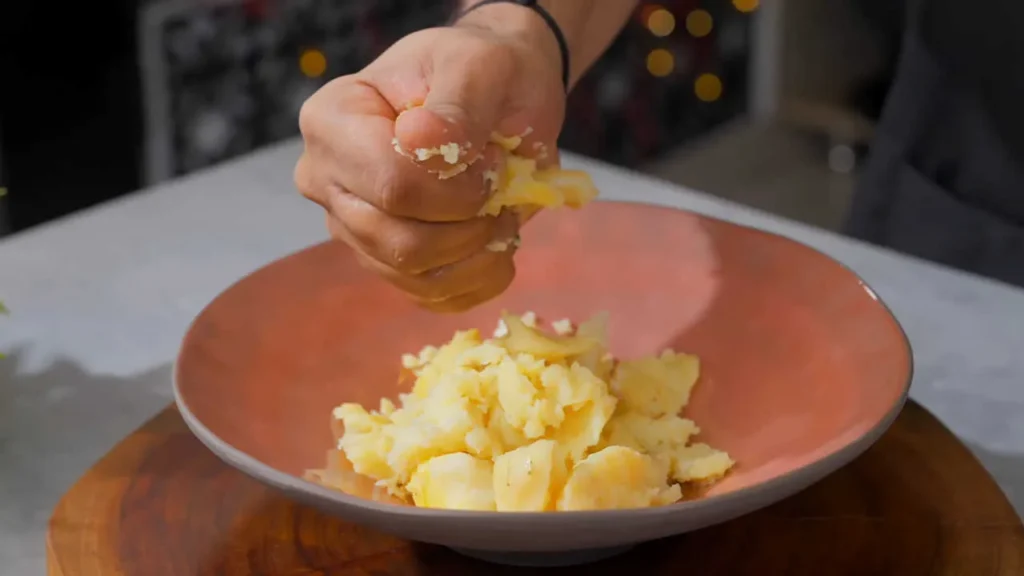
Note: Don’t mash hot potatoes because they contain steam. If you use them for stuffing while they’re still hot, the parathas may tear.
A slightly coarse mash also gives a better texture and enhances the taste.
Step 2: Add the Spices
- Finely chopped onion
- Green chilies
- Grated ginger
- Fresh coriander leaves
- Red chili powder
- Coriander powder
- Roasted cumin powder
- Dry mango powder (amchur)
- Carom seeds (ajwain)
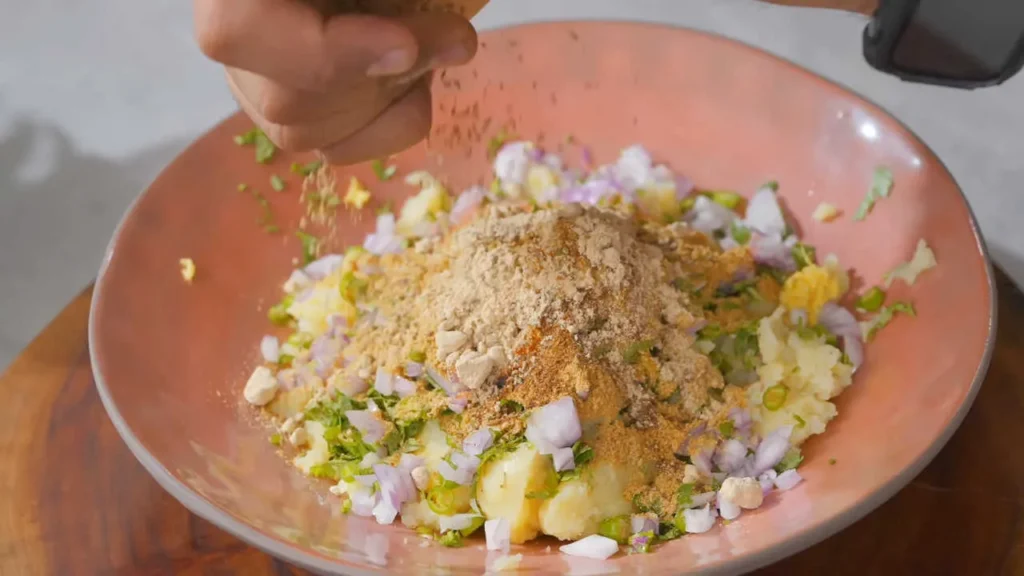
Add all the spices listed above to the mashed potatoes.
The Most Important Thing
Don’t add salt yet!
Salt makes the onions and potatoes release water. If the stuffing becomes watery, the parathas will start tearing. So always add the salt just before making the parathas.
Step 3: Knead the Dough Again
After resting the dough for 30 minutes, knead it once more for 1–2 minutes.
This makes the dough even softer and smoother, which helps the Aloo Methi Paratha puff up beautifully.
Step 4: Prepare the Dough Balls
Each dough ball should weigh around 75–80 grams. You don’t need to weigh them unless you’re making parathas for the first time. If you’re already experienced, you can simply estimate the size.
Sprinkle a little dry flour over all the dough balls so they don’t dry out.
Step 5: Roll the First Flatbread
Now we’ll make our first paratha. But before that, you need to stuff it properly with the potato filling. It may sound easy, but it’s not as simple as it seems. If you rush this step, you’ll spoil everything, and the stuffing will come out.
First, dust the dough ball with a little dry flour and roll it just like you would roll a regular roti.
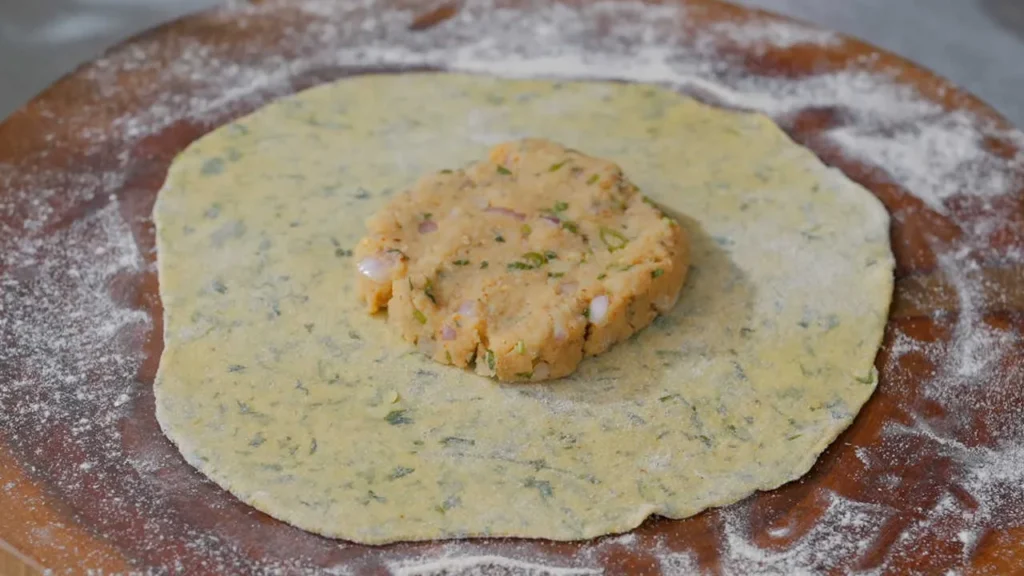
Keep the center slightly thicker and the edges thinner. This prevents the paratha from tearing after adding the stuffing and also helps it puff up nicely while roasting.
How to Make a Square Paratha
To make it:
- Roll the dough slightly larger.
- Make all four edges a little thinner.
- Place the stuffing in the center.
- Gently shape the stuffing into a square.
Now fold the top and bottom first, then fold both sides, just like closing an envelope.
This helps spread the stuffing evenly into every corner. It also gives the paratha a beautiful shape.
Step 6: Fill the Stuffing
You probably remember that I told you not to add salt while mashing the potatoes. Now it’s time to add salt according to your taste and mix everything well once again.
Place the potato stuffing in the center of the rolled dough and gently press it down.
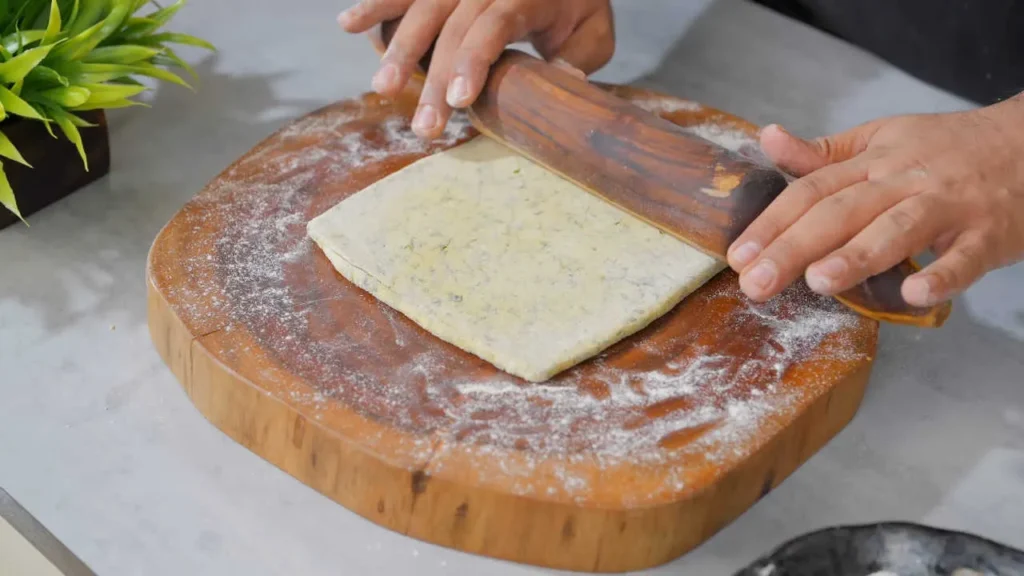
Step 7: Roll the Paratha
This is the most important step.
Don’t use too much pressure while rolling the paratha.
Simply roll the center gently first, then slowly roll towards all sides.
If you apply too much force right from the beginning, the stuffing will come out.
Why Roast Without Ghee First?
There are several reasons for this. If you apply ghee before placing the paratha on the tawa, a lot of the ghee turns into steam and gets wasted.
Also, the paratha may look crispy on the outside, but the stuffing inside won’t cook properly.
The right method is:
- Roast the paratha on both sides without ghee until light golden brown.
- After that, apply ghee and cook it until it becomes crispy.
This gives you a paratha that’s crispy on the outside and perfectly cooked on the inside.
7 Golden Tips
- Always knead the dough soft.
- Dry the methi before using it.
- Add salt to the stuffing at the very end.
- Roll the paratha with light hands.
- Keep the tawa properly heated.
- Apply ghee later, not at the beginning.
- After flipping the paratha, gently press it with a soft cloth.
Common Mistakes (Methi Paratha)
There are a few things you should keep in mind while making parathas. If you ignore them, no matter how much effort you’ve put in, all your hard work can go to waste.
- Using wet methi.
- Kneading a hard dough.
- Making the stuffing with hot potatoes.
- Adding salt too early.
- Using too much dry flour while rolling.
- Roasting the paratha on a cold tawa.
- Cooking it over very high or very low heat.
Serving Suggestions
The real taste of hot Aloo Methi Paratha comes with fresh curd or mango pickle. If you like, you can also serve your Aloo Methi Paratha with your favorite sides.
- Butter
- Fresh curd
- Mango pickle
- Fresh coriander-mint chutney
- Spicy garlic chutney
- Boondi raita
- Masala tea
- Sweet lassi
How to Store Methi Paratha?
If you’ve kneaded extra dough or have some potato stuffing left over, you can easily save it for later.
Store the Dough:
- Keep the kneaded dough in an airtight container and store it in the refrigerator. You can use it whenever needed.
- Before using it again, keep it outside the refrigerator for 10–15 minutes.
Store the Stuffing:
- Store the stuffing in a container, and it will stay fresh for up to 2 days.
- One thing to remember—before using it again, mix the stuffing well with your hands.
Expert Tips
- Always use fresh methi.
- Remove the thick stems, otherwise the paratha may have a slightly bitter taste.
- Dry the methi after washing it.
- Mix gram flour (besan) into the dough before kneading.
- Let the kneaded dough rest for 30 minutes.
- Add salt to the stuffing at the very end.
- Don’t rush while rolling the paratha.
- Roast the paratha without ghee first, then apply ghee later.
- Once the paratha turns golden brown, gently press it with a cloth to help it puff up nicely.
- Don’t use too much dry flour while rolling, otherwise the paratha will take longer to cook and won’t puff up properly.
Nutrition Per (Methi Paratha)
| Nutrient | Estimated Amount |
| Calories | 285 kcal |
| Carbohydrates | 39 g |
| Protein | 8 g |
| Fat | 11 g |
| Saturated Fat | 3 g |
| Fiber | 6 g |
| Sugar | 3 g |
| Sodium | 320 mg |
| Potassium | 410 mg |
| Iron | 2.4 mg |
| Calcium | 54 mg |
| Vitamin A | 950 IU |
| Vitamin C | 9 mg |
Note: The nutritional information is an estimate. It may vary slightly depending on the ingredients used and the amount of ghee added.
Frequently Asked Questions
Q/A
Yes, but using fresh methi is always better. If fresh methi isn’t available, you can use kasuri methi instead.
Yes. Gram flour absorbs the extra moisture from the dough, which prevents it from becoming loose or sticky.
This usually happens if the stuffing is too wet, the dough is too hard, or you’ve added too much stuffing.
Absolutely. If you don’t eat onions, you can simply skip them.
Yes. It’s nutritious and a great option for kids. Just reduce the amount of green chilies if you’re making it for children.
Whole wheat flour is the best choice. It makes the parathas softer and more flavorful.
Yes. You can half-cook the parathas and store them in the freezer. Whenever needed, roast them with ghee before serving.
Yes. You can mash paneer along with the potatoes to prepare the stuffing. This also makes the paratha richer in protein.
Once the parathas are ready, wrap them in a clean cloth. This helps retain their softness.
Yes, this recipe is vegetarian. If you prefer, you can also skip the ghee and onions according to your preference.